So I’m sitting here on my computer—something I do quite often—and find myself staring at this Lilliput 7" USB display that I have here. I’ve had this thing for a while; I bought it to use for Slack at work originally, and it worked OK. 7" turns out to be just slightly too small for anything serious, but it worked alright for chat at least.
Anyway, I brought it home and hooked it up to my Windows PC and never found anything really great to use it for. Suddenly I had a brainstorm: what if it could work on a Raspberry Pi? Then I could put some useful home automation output on it and maybe position it somewhere else in the house.
I set about figuring out how to get the Raspberry Pi to send GUI output to this USB-powered DisplayLink monitor. I did, eventually, get it to work. But, I ran across so many conflicting, incorrect, and outdated articles that I am compelled to describe what I did to make it work.
This Lilliput display uses DisplayLink, which is a proprietary USB graphics chip with associated drivers and protocol. Windows has DisplayLink support built in, but other operating systems typically need some added software to make it go.
In Linux, the driver that you need is called udlfb, which is provided as a
kernel module. This module should already be there on recent Raspbian builds; I
didn’t have to do anything to get it.
In Linux, the DisplayLink device appears to the system as a framebuffer, which is a hardware-independent API for accessing video memory. I could make some assumptions about how DisplayLink works based on this, but I won’t because they’ll probably be embarrassingly wrong. Suffice it to say, you just need a way for your Raspberry Pi system to output whatever you want to display to a framebuffer.
The udlfb driver talks to the DisplayLink screen via USB and exposes that
interface through the Linux framebuffer device at /dev/fb1.
You can confirm that this is working by running dmesg. In that log output, you
should find lines similar to these:
[    3.431954] usb 1-1.2: new high-speed USB device number 6 using dwc_otg
[    3.565400] usb 1-1.2: New USB device found, idVendor=17e9, idProduct=02a9, bcdDevice= 1.50
[    3.569491] usb 1-1.2: New USB device strings: Mfr=1, Product=2, SerialNumber=3
[    3.573677] usb 1-1.2: Product: USB Monitor
[    3.575785] usb 1-1.2: Manufacturer: DisplayLink
[    3.577844] usb 1-1.2: SerialNumber: 78530686
[    5.517598] usb 1-1.2: fb1 is DisplayLink USB device (800x480, 1504K framebuffer memory)
Then all you have to do is inform the X-Windows system that you have a monitor
using that device and what driver it should use. To do that, you must edit (or
create) the file /etc/X11/xorg.conf. I had to create this file, and this is
its entire contents:
Section "ServerLayout"
        Identifier "Server Layout"
        Screen 0 "DisplayLinkScreen" 0 0
EndSection

Section "Files"
        ModulePath "/usr/lib/xorg/modules"
        ModulePath "/usr/local/lib/xorg/modules"
        ModulePath "/usr/local/lib/xorg/modules/drivers"
EndSection

Section "Device"
        Identifier "DisplayLinkDevice"
        Driver "fbdev"
        Option "fbdev" "/dev/fb1"
        #Option "ShadowFB" "off"
EndSection

Section "Monitor"
        Identifier "DisplayLinkMonitor"
EndSection

Section "Screen"
        Identifier "DisplayLinkScreen"
        Device "DisplayLinkDevice"
        Monitor "DisplayLinkMonitor"
        SubSection "Display"
                Depth 16
                Modes "800x480"
        EndSubSection
EndSection
The Identifier values are meaningless, it’s only important that the references
in the Screen section are correct. The important part is the Driver and
Option keys in the Device section, where we tell X that we have an fbdev
device and that it is located at /dev/fb1.
Once you have set all of this up, you should be able to reboot the Pi with only your DisplayLink monitor plugged in and see your GUI desktop environment appear!
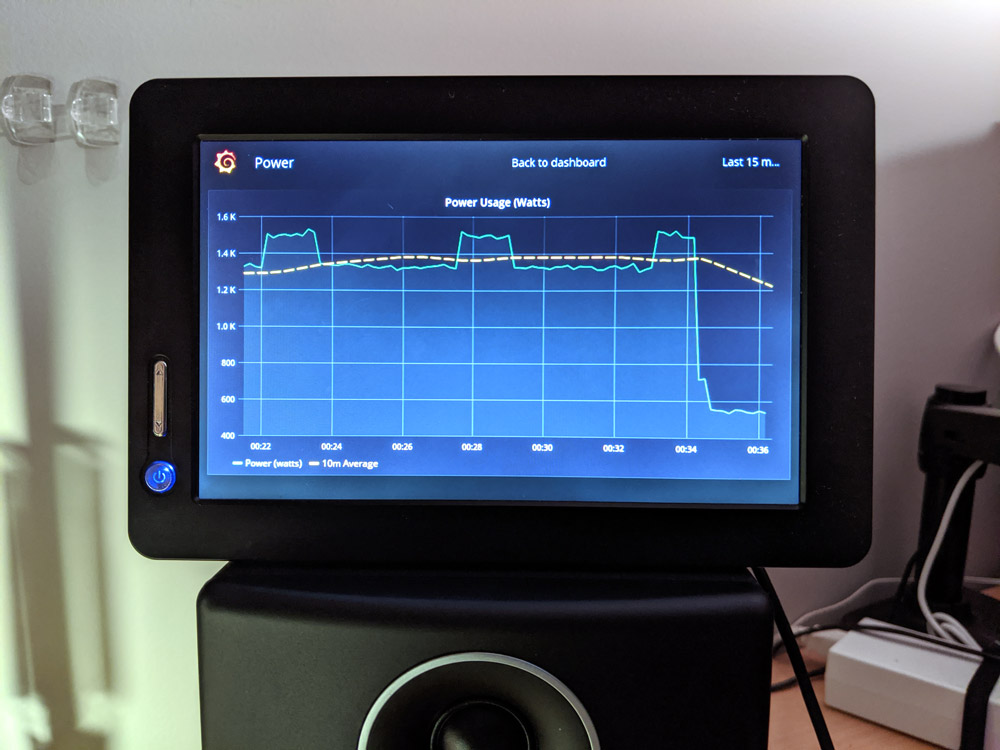
Here is my Lilliput monitor proudly displaying a live power usage graph in Grafana in Firefox, fullscreen:
I’m sure you have questions. I may have answers… You can try in the comments below!